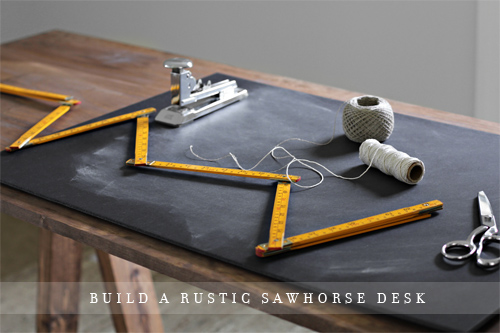
Hello, I am Miss B.  I am a dilettante of the ‘nth degree and like to try my hand at many a practical craft endeavor.  I have a few requirements when I choose these projects–the craft must be useful, the craft must be budget friendly and the craft above all else must be easy.  I am going to just come right out and let you know that  I did get an ‘A+’ in my 7th grade woodshop class, which basically qualifies me as an expert in my eyes, but don’t be intimidated by woodcrafting expertise; I won’t need to use the expert knowledge I gained all those years ago for this project and neither will you.  So let’s get started on the ambitious project of building your own desk!  I was inspired by a custom desk using sawhorse legs in the New York Times which had a rich, worn look and of course can not find the link but these brackets from a Swedish design company are pretty aces as well
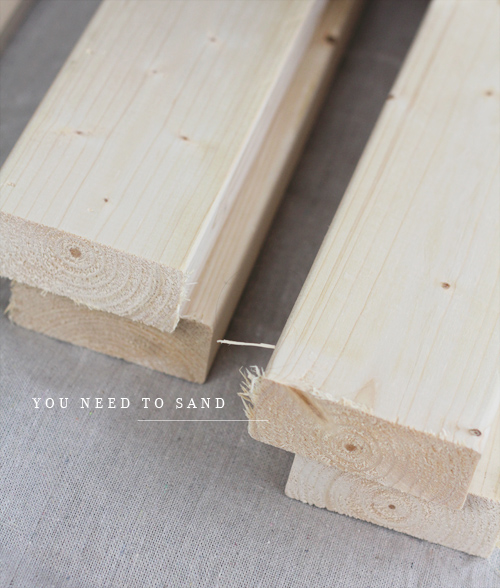
The supply list is short + budget friendly. Don’t fear you won’t need to saw anything, you won’t even have to nail, screw or glue anything either, but you will need to do the tedious of all wood working chores-sand.
//SUPPLY LIST//
TABLETOP
I bought a pre-sanded, pre-cut table top.  For me, taking sanding out of the equation is worth any extra monies I spent. You can use an old door or plywood cut to the length and width you need. My table top was a steal for $30 but the store I bought it at doesn’t have it on their site. Ikea has some nice, inexpensive ones.
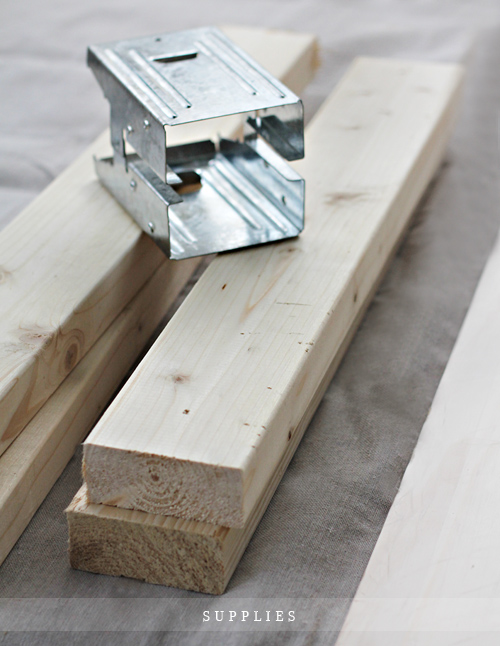
SAWHORSE BRACKETS
There are many kinds in different colors, but I chose the galvanized metal as I felt they went well for the rustic look I was going for.
LEGS + CROSSBAR
This is easy, you will need 4 two by fours. I just told the associate at the hardware store what I was doing and we cut the wood to size.  For my desk/worktable I cut the legs to 27.25″ (no, I am not a mathematical genius there’s a guide on the sawhorse bracket box).  I needed 8 legs total. For the crossbars that go in the brackets I had 2 pieces cut to 23″ as my desk was 24″ wide.  So if your desk is 30″ wide I suggest cutting your crossbars to somewhere between 28″-29″.
SANDPAPER

Just a piece of extra fine should do.

PLASTIC GLOVES
I buy these in bulk.  I never want to not have these around.  I am always cleaning, painting, staining, stamping and gloves keep my hands from looking like paws.

STAIN + RAG
I used a small can of Minwax in Special walnut. My rag was a soft, old t-shirt cut into smaller pieces.
OPTIONAL SEALANT
I used a matte finish sealant as I didn’t want high-gloss on my rustic desk. I say optional because if you are going for a rustic look the more wear and tear the better.
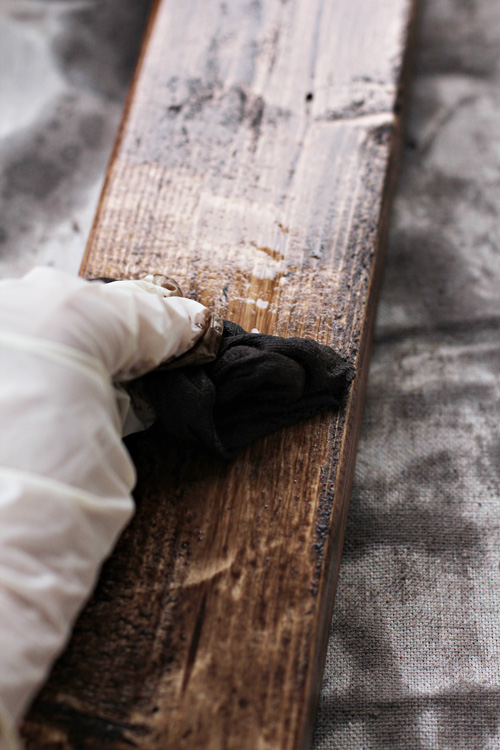
Gather your supplies and let’s get building!  If you bought a pre-sanded tabletop you won’t need to sand (yea!).  The only pieces I sanded were the ends where the two by fours were cut (the cuts are free and you do get what you pay for). Next step is staining. For the rustic look you can be as sloppy and gloppy as you like, the inconsistencies will just make it look weathered.  I just slathered it on like so:
Once you have the stain on everything take a clean rag and wipe up the excess stain. Once dry use your sealant and allow that to dry as well, I waited overnight.  Here comes the fun part.
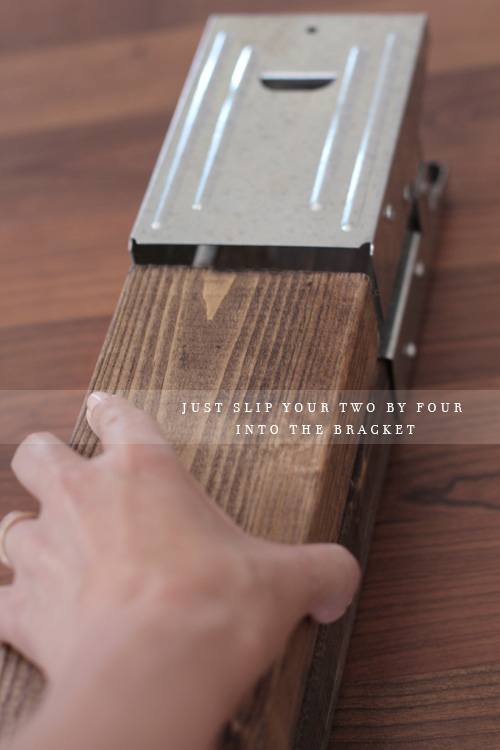
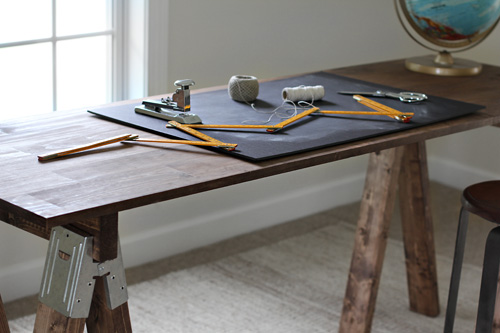
Just slip your wood into the brackets, there’s two holes for the legs and a spot on top for the cross bar.  After you have everything in place all you need to do is add your tabletop. Guess what?  You my friend have just made yourself a desk.  Congratulate yourself!

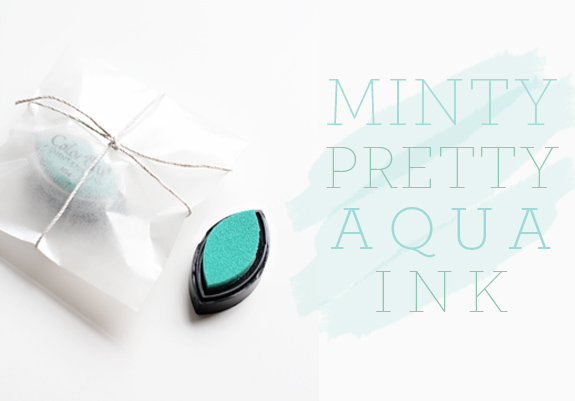
NEW! PERFECT MINT INK

I have had an assortment of some of my favorite ink colors in inventory for months now, but no time to shoot the images. On a particularly rainy Thursday I went ahead and finally did an ink photo shoot, sounds exciting, no?  I love this minty ink, perfect. I confess I did more ink testing than should be legal, it could be why there’s a deficit in my current budget but I wanted to offer the best colors and quality possible.  This light blue/green color is just right.  As you can see from the image above it is nice and opaque.  Pick up your minty ink here.

NEW! CUSTOM FAVOR STAMP + WINNER

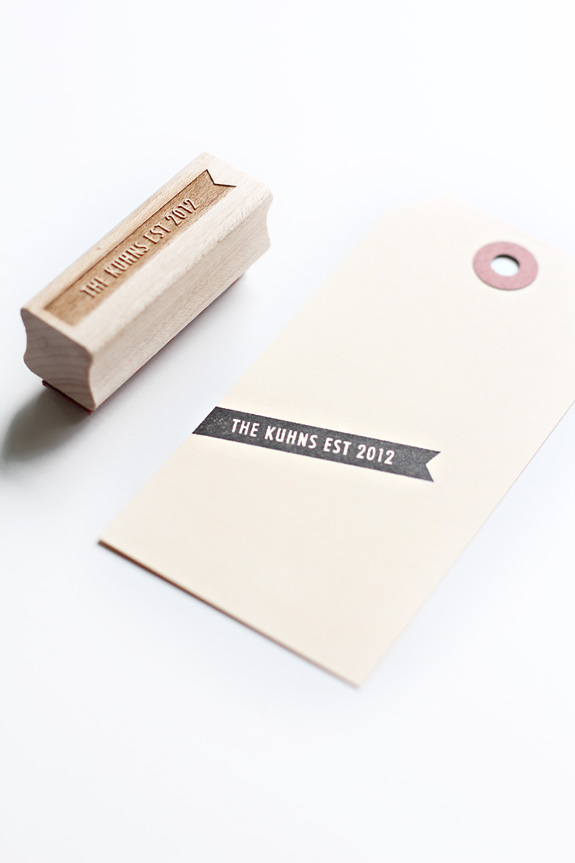
And we have another winner….The soon to be Mrs. Kuhn, (one of the wittiest lasses on the interwebs).  I do find this stamp to be extremely versatile, depending on the angle you choose it can look like a simple retro banner or at a 45 degree angle a ribbon–cute, cute. I used black here but this works well with most any color. I have a whole white ink comparison coming up using this stamp. Of course, as per usual if you wanted this beauty and didn’t win, you are still a winner to me and can pick yours up for 50% off with the coupon code SS06 (for this week only) isn’t it great to know people? Yes, indeed.

NEW! FAUX WAX SEAL STAMP + A GIVEAWAY

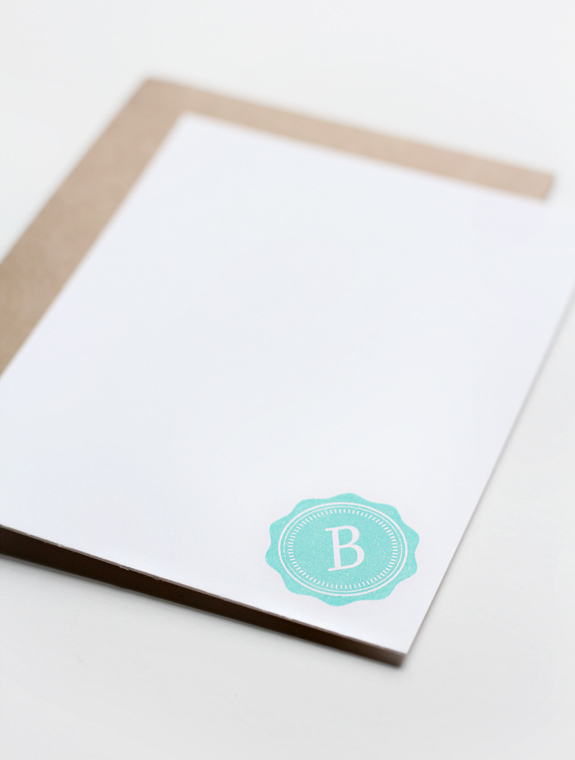
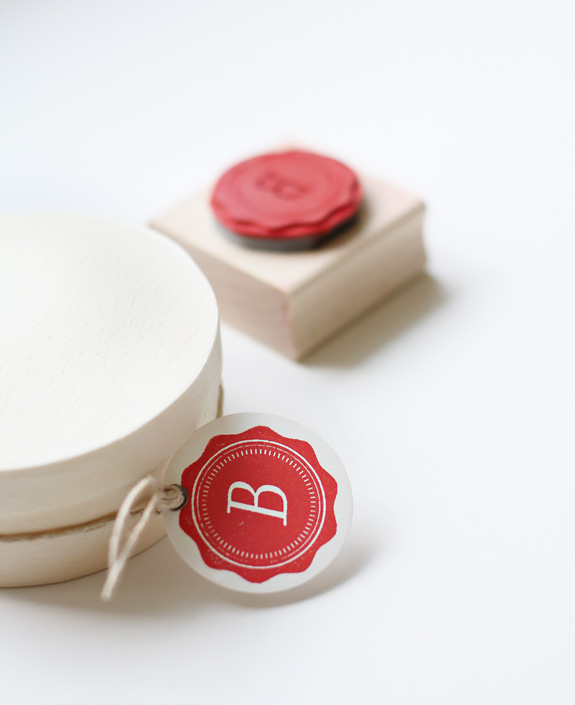
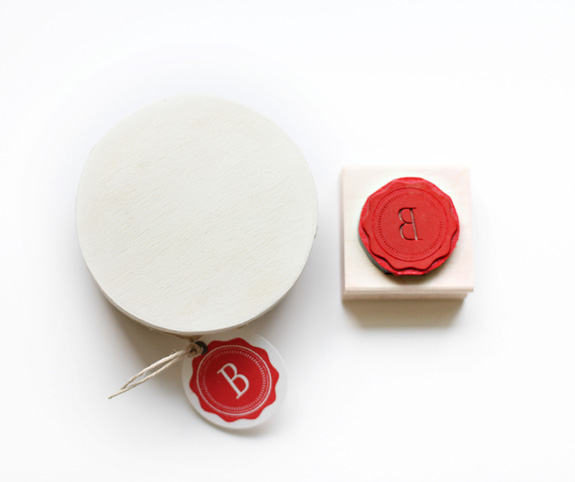
Happy Monday!  I am so thrilled to be back, last week was like an odd space + time continuum.  It seemed since our Independence day fell on a Wednesday the entire world decided to throw caution to the wind and take the entire week off.  I considered it, but I know myself too well, time off is a slippery slope for me, one day off and I am eating the entire refrigerator contents of life and not exercising thus suffering the consequences of gluttony and moving swiftly into sloth.  I need a solid schedule and place to be or else I might as well be a girl gone wild.  Most people would find a schedule constricting I find it liberating.  I was feeling extra creative last week as it was crickets here and at the shop, there was not much for me to do but stare out my window at the pond and look for baby bunnies on my property. I did indulge in my calligraphy class and tried in vain to learn WordPress over a 4 day period. I need more days; I am not as smart as I look.  As I was packing prizes and getting ready to announce more winners (plenty more this week!)  I was looking at my double initial seal and thought there should be a stamp that looked a bit more like an actual wax seal and promptly went to work creating one.  It seems my stamp factory was busy doing nada as well as they sent me back my design in a day–a day?!  I am so pleased with the results.  I used an italicized version of an Anthropologie-type font for the initial, which I feel keeps this design from being too stiff & serious.  I am considering trying different fonts which is where you come in of course. This wasn’t on the roster for the giveaway but it’s here now and I would love to do a couple custom wax seal stamps with different font variations.  The catch?  I want to do them sooner than later patience is not my virtue.  So for this Monday morn if you would like to try to win a version of this stamp (with an alternate unknown font), please leave a comment with the initial you would like and what you would use this for.  
If you are like me and can’t wait feel free to stop by the shop and pick up your wax seal stamp and use the code WAXSEAL to get it for 1/2 off this week.  I will choose a winner tomorrow, yes tomorrow and will announce said winner(s) as soon as the sample stamps arrive!  How is that for almost instant gratification? 
This week is going to be amazing, pinky promise.  Besides the giveaways, I am doing some cool d.i.y.  I am thinking of doing a ‘Craft Camp’ for the rest of the summer and I do hope you join me and of course I haven’t forgotten your tutorials on product photography so stick with me this week it will be a good one.