
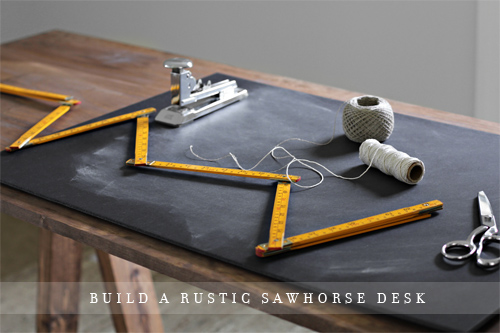
Hello, I am Miss B. I am a dilettante of the ‘nth degree and like to try my hand at many a practical craft endeavor. I have a few requirements when I choose these projects–the craft must be useful, the craft must be budget friendly and the craft above all else must be easy. I am going to just come right out and let you know that I did get an ‘A+’ in my 7th grade woodshop class, which basically qualifies me as an expert in my eyes, but don’t be intimidated by woodcrafting expertise; I won’t need to use the expert knowledge I gained all those years ago for this project and neither will you. So let’s get started on the ambitious project of building your own desk! I was inspired by a custom desk using sawhorse legs in the New York Times which had a rich, worn look and of course can not find the link but these brackets from a Swedish design company are pretty aces as well
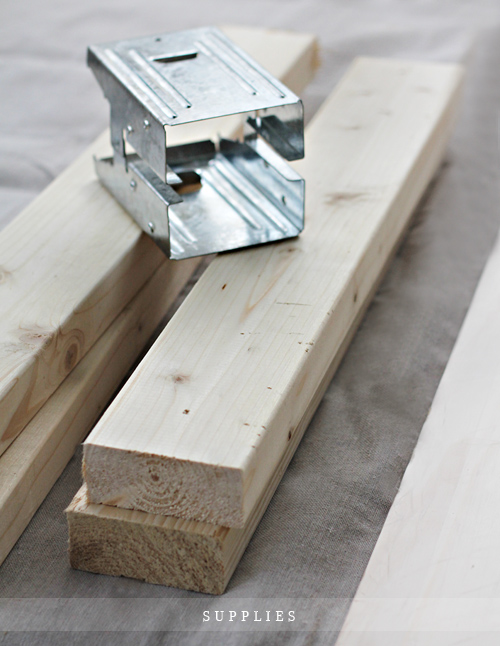
The supply list is short + budget friendly. Don’t fear you won’t need to saw anything, you won’t even have to nail, screw or glue anything either, but you will need to do the tedious of all wood working chores-sand.
//SUPPLY LIST//
TABLETOP
I bought a pre-sanded, pre-cut table top. For me, taking sanding out of the equation is worth any extra monies I spent. You can use an old door or plywood cut to the length and width you need. My table top was a steal for $30 but the store I bought it at doesn’t have it on their site. Ikea has some nice, inexpensive ones.
SAWHORSE BRACKETS
There are many kinds in different colors, but I chose the galvanized metal as I felt they went well for the rustic look I was going for.
LEGS + CROSSBAR
This is easy, you will need 4 two by fours. I just told the associate at the hardware store what I was doing and we cut the wood to size. For my desk/worktable I cut the legs to 27.25″ (no, I am not a mathematical genius there’s a guide on the sawhorse bracket box). I needed 8 legs total. For the crossbars that go in the brackets I had 2 pieces cut to 23″ as my desk was 24″ wide. So if your desk is 30″ wide I suggest cutting your crossbars to somewhere between 28″-29″.
SANDPAPER
Just a piece of extra fine should do.
PLASTIC GLOVES
I buy these in bulk. I never want to not have these around. I am always cleaning, painting, staining, stamping and gloves keep my hands from looking like paws.
STAIN + RAG
I used a small can of Minwax in Special walnut. My rag was a soft, old t-shirt cut into smaller pieces.
OPTIONAL SEALANT
I used a matte finish sealant as I didn’t want high-gloss on my rustic desk. I say optional because if you are going for a rustic look the more wear and tear the better.

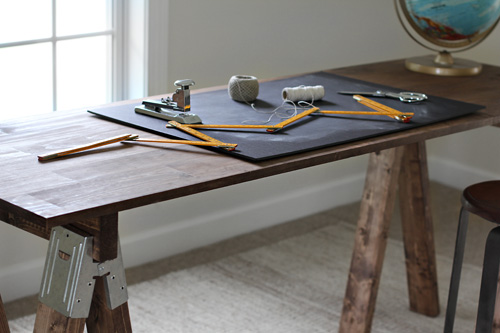
Gather your supplies and let’s get building! If you bought a pre-sanded tabletop you won’t need to sand (yea!). The only pieces I sanded were the ends where the two by fours were cut (the cuts are free and you do get what you pay for). Next step is staining. For the rustic look you can be as sloppy and gloppy as you like, the inconsistencies will just make it look weathered. I just slathered it on like so:
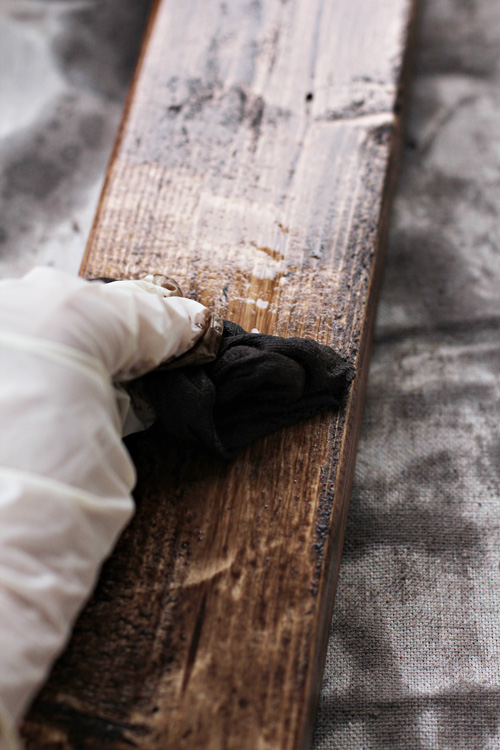
Once you have the stain on everything take a clean rag and wipe up the excess stain. Once dry use your sealant and allow that to dry as well, I waited overnight. Here comes the fun part.
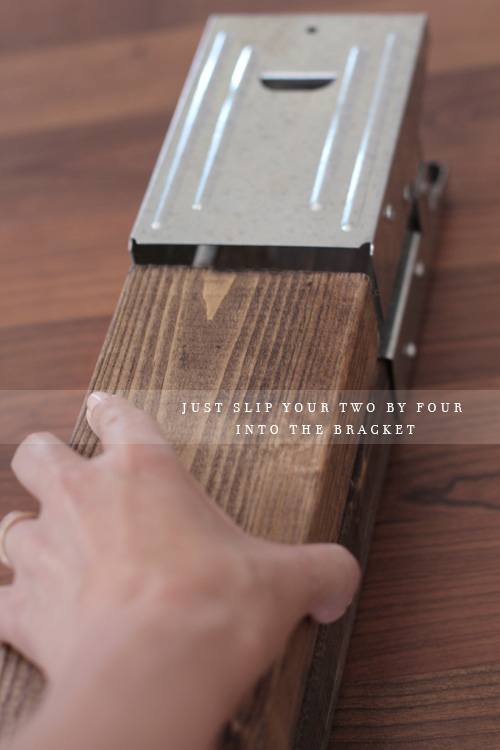
Just slip your wood into the brackets, there’s two holes for the legs and a spot on top for the cross bar. After you have everything in place all you need to do is add your tabletop. Guess what? You my friend have just made yourself a desk. Congratulate yourself!


HOLY COW! I need a desk badly as I’m transitioning into full-time freelance from home. We’re moving in a few months so I thought it stupid to buy something large we’ll have to move. This, however, IS PERFECT.
Thanks!
You are so welcome, good luck on your new adventure!