3 PRODUCT PHOTOGRAPHY TIPS TO IMPROVE YOUR SHOTS

I have griped on many occasions here about my struggle with my product photography. My first shop I only showed graphics of the offerings which was great because there was a nice consistency to the images, the downside in my opinion was that the client couldn’t really get a feel for the actual product. With the launch of Besotted Brand I knew I wanted to up the ante with product shots, the only problem is that my product photography skills were null. I was at a loss for a few months, but then I feel that things began to change.  I wanted to give you a few tips that have helped me tremendous amounts and for those of you struggling may help you as well, which I have listed below:

1. This first tip may make you roll your eyes in the back of your head, but I am going to share it anyway–Take lot’s of photos, all the time. In other words–practice.  Does that make you cringe?  I apologize, but truly the more bad shots I took the more good shots came about later as a result.
2. I took a class. Now I know not everyone has a budget for a class and this was not in mine either, but I figured I would forgo eating and see where the chips fall.  Bonus, I am thinner and more adept at my product photography skills.  The class I took was on line by Nicole’s Classes. I am a huge fan of Nicole, she graduated from a very prestigious (and impossible to get into) photography school, she has worked with the industries top photographers and is a success in her own right working with publications such as Real Simple. This is a great class.
3. I bought a tripod. Okay, I should state that I owned a tripod previously, or a poor excuse for a tripod, just flimsy and hard to work with.  I couldn’t afford the tripod that I wanted so I invested in the best tripod I could afford. The number one difference with the new tripod is that it has a quick release, making it super easy to pull my camera off the tripod and shoot at different angles. I adore this feature.  I bought this tripod, with this ball head.

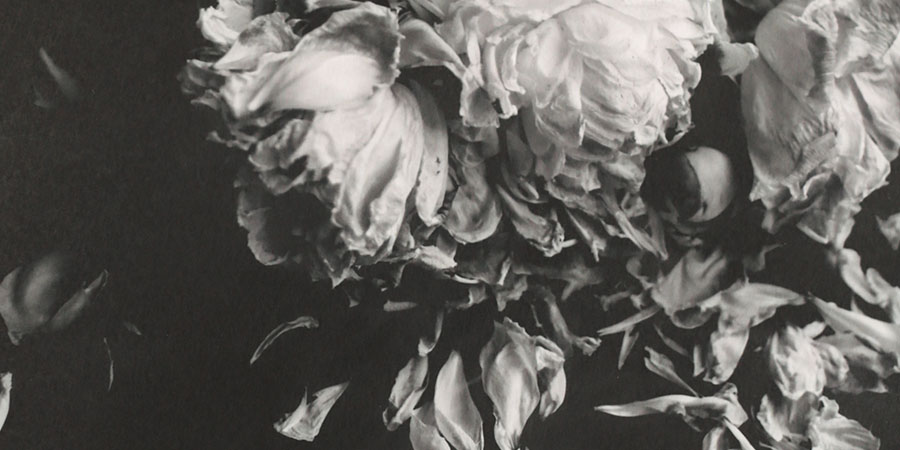
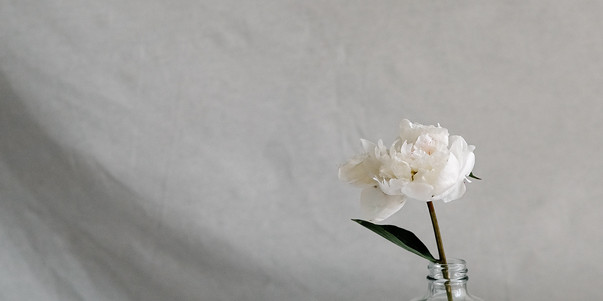
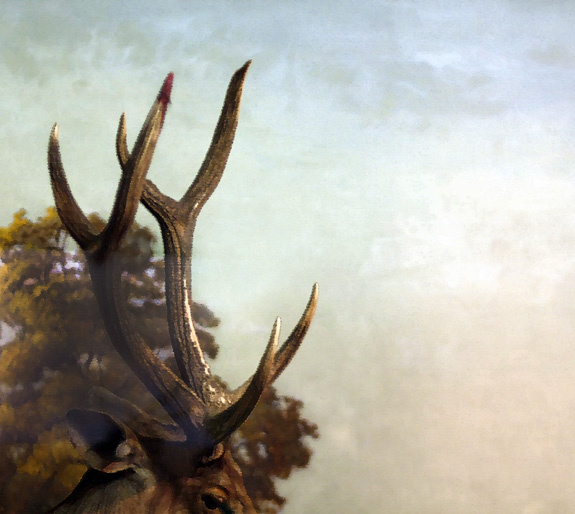
These are only three quick tips, but I feel that they were instrumental in taking me from dark, dank and blurry shots to the shot above, which isn’t perfect but leaps & bounds better than where I was when I started. If you have any questions for me leave them in the comments and I am happy to try to answer them.

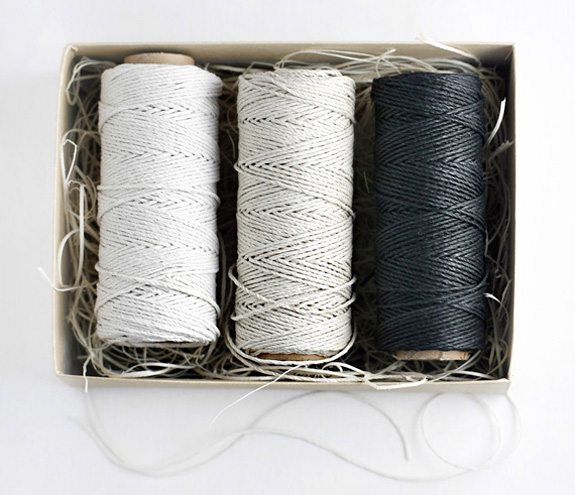
P.S. This is my new Parcel Twine Trio, I will be giving a set away next week, but if you can’t wait you can get your set here.

MMXII::11::EDITING A PHOTO A DAY IN 2012

MMXII::11::AFTER

I know, I know, you are thinking sheesh Miss B., you promised not to just have all your posts be about this insane project, blurgh!  Yes, I promised and I will keep my promise, it’s just that the last couple weeks have been monopolized by taking product photographs, editing for this project, getting ready for the Souvenir Foto School announcement, designing an updated blog and oh yeah, plenty of real work in there as well. In a word, I have been busy.  I also haven’t been in the best of health, nothing contagious (for all those clients I have been packing parcels for), I just have had a bad bout of vertigo, it’s the worse ever, it’s like you are on a very rocky boat at sea except you are sitting in your living room.  I don’t wish it upon anyone amongst you, ever. It’s a little bit hard for me to be creative and come up with new ideas for you here when I am seasick in the studio. This has happened a few times prior and passed after a couple of weeks, not what I would consider a good time. You know what’s good though?  I got in some new prints that I am actually happy with!  I just need to style + shoot them in frames and then I will add to the shop, of course I will be giving away framed versions here, so I hope that some of you need new artwork for your walls.
I will be editing a photo a day for the remainder of 2012::Project MMXII, this is my ‘after’, you can view the ‘before’ here.
P.S. I used one of these FREE Photoshop actions to assist with the edit!

MMXII::10::EDITING A PHOTO A DAY IN 2012

This was a really hard edit, because I couldn’t get rid of the window glare on the left side of the image. I would usually clone that out but there was no detail that would match.  I tried my paint with light action which basically is a non-destructive way to dodge and burn in Photoshop.  It’s probably my most used action (I gave it away for free the last Souvenir Foto School class). I tried creating a vignette effect to darken the glare but no luck.  The more I played the more this started to look like a paint-by-number portrait to me.   I decided to run with that and replicate the vintage color scheme and some paint strokes. It’s not my favorite edit but I am happy I tried it.  If you aren’t checking out the ‘before’ images you really should, it will make you feel like Annie Liebowitz.
I will be editing a photo a day for the remainder of 2012::Project MMXII, this is my ‘after’, you can view the ‘before’ here.

BESOTTED BRAND::NATURAL WOOD SHIPPING TAGS GIVEAWAY

I just added these to the shop the other day, if you have ordered from me lately I have been including a few of them in each order.  I am a fan of the classic shipping label, but these take it to a totally new level.  I love that you can do pretty much what you like with them–stain, paint, stamp, decoupage and I suppose whatever creative endeavor that pops into your head. You can definitely write on them with felt tip pens or calligraphy ink.  I think they would be perfect for escort cards, table numbers, favor tags, gift tags perhaps a very unique business card?  They are just really useful to have in your craft arsenal.  I have the tags available in bulk for those that need a bunch. Bonus, they come housed in the cutest kraft, oval mini-hat box.  I have a couple ‘models’ lined up for some future D.I.Y.’s that will include the tags, I am thrilled about this as I find it a Herculean task to style, shoot and model–kudos to all those bloggers that do this on a regular basis, I am in awe.  If you would like to stock up on some tags you can visit them here.  
For those that would like to try to tempt fate I am going to give away three wood shipping tag sets to two lucky readers (that’s right they will each get 3 sets). This is a call to the crafty, I would like people that are willing to do a D.I.Y. with the tags and photograph their attempts for potential publication at a later date (yes, featured here on this lovely blog, thus becoming famous in Romania like moi). If you are up for the challenge than leave a comment with a link to a formerly crafty project you have done.  I will choose the winners next Monday.  Good luck!

MMXII::09::EDITING A PHOTO A DAY IN 2012

This is the first edit that I am ‘OK’ with.  I am really hard on myself and look at my edits and want to do more, more, more. I learned a few things with this-how to create a fog effect, it took me awhile until I got it right and then I found the Nik Color Efex has it available in one click on their new filter offerings.  I am always doing things the hard way. Live and learn, right?  
In other news, I was able to play with the 100mm macro lens I rented.  I both hate and love renting lenses, I love it because I can try something I can’t afford to buy and I hate it because I often fall in love with a lens and to give it back is such sweet sorrow.  It’s how I feel about this lens.  I don’t have any experience with macro lenses so I was under the very wrong assumption that this lens would only be good for close-ups, but it’s a great portrait lens as well! It stops down to f/2.8 so you can get a lot of light in and it’s very sharp.  If I had the money I would be adding this lens to my kit–yesterday.  To take my product shots I had to stand on a ladder and my tip toes to get everything in the shot, it’s like a mini zoom.  I plan to show you some of the close-ups soon and we both can swoon over this lens.  Have any of you tried it or are lucky enough to own a macro lens?

I will be editing a photo a day for the remainder of 2012::Project MMXII, this is my ‘after’, you can view the ‘before’ here.