THE BEST WHITE INK FOR STAMPING– HANDS DOWN!

After many tests I chose the Color Box Frost White as the very best white stamp ink.  It’s the most opaque without resorting to embossing.  It also still allows for detail to show through, which I found key. It never left a perfect impression, but I don’t mind the handcrafted/rustic feel, if you want perfect I don’t think white stamp ink is there yet. The one thing I should mention is that ink reacts differently to each substrate (the item you are printing on) in this case cardstock. Some cardstock is more porous or has more texture, etc. so you need to test on your cardstock prior to getting started on your project. Practice is well, good practice in hand printing/stamping.  There’s a learning curve and it’s silly to believe you are going to be great right out the gate, I know this from experience, I thought ‘how hard could it be?’ I am full of crafting bravado, I quickly learned that I needed some practice. It’s not hard per se but there is technique involved. So there you have it my favorite white stamp ink. My next hand printing/stamping tutorial will be on how to center a stamp so stay tuned!

THE BEST WHITE INK FOR STAMPING::PART I

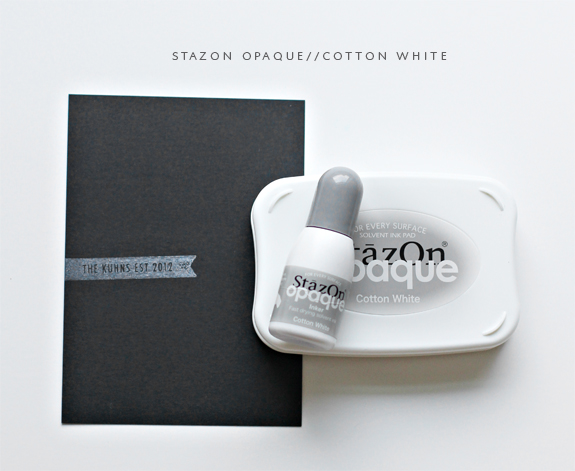
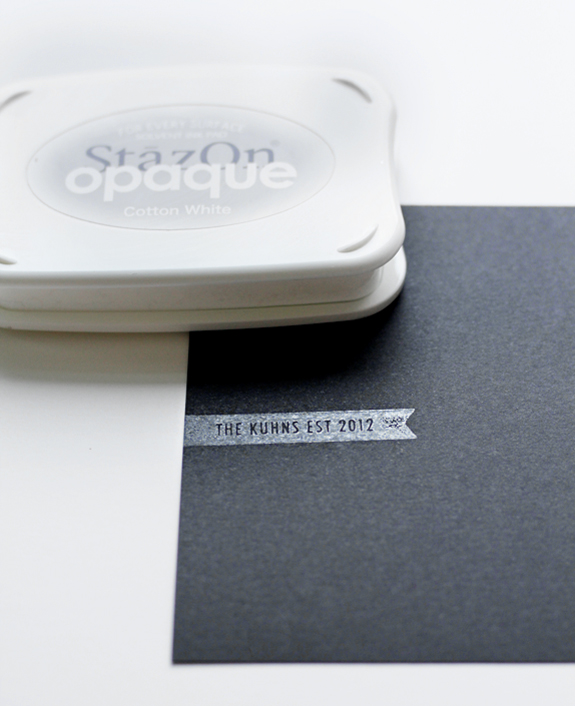
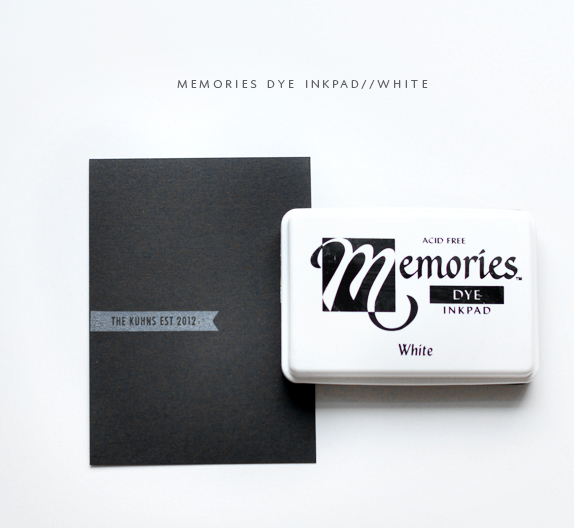
When I was looking for white ink for stamping I realized right away that it was going to be an exhaustive search; not all white ink is equal. It is such a huge ink of debate that it was mind boggling of where I would start. I narrowed it down to half a dozen and for this post narrowed it down even further to three.  I found that the other three were not even worth mentioning, so much so that if you asked I can’t even remember them, that insignificant as far as white stamping ink is concerned. The first ink I tried StazOn Opaque Cotton White came highly recommended as the most opaque, it is also the most labor intensive as you have to squeeze a small bottle onto a pad.  I found it to be okay, but I was looking for an even more opaque look so I tried the second most recommended white ink–Memories dye ink in White.
The Memories ink was a little more opaque, but still not as opaque as I wanted.  At this point though it was head and shoulders above the other options and I was starting to get hopeful that I could get a nice white, opaque impression.  I had one last ink to try, but that will be saved for another post my dears so look out for Part II and my most favorite white stamping ink!
*Note both these inks could easily become more opaque via embossing, but that’s a whole other technique that I promise to broach one day and discuss both the pro and  cons.

COMPLEXION PERFECTION

Since I have moved to the South my skin hasn’t been as dry as it was in the City of Angels, Los Angeles afterall is a desert basin so not much moisture in the air. The flip side of my more hydrated skin is that my former foundation routine is now null and void.  The beautiful products I coveted formerly–Cover Girl NatureLuxe and Smashbox BB Cream melt off my face the minute I open the front door.  I think I mentioned that my husband even commented on my ‘different color skin’ and wondered why I would do that to myself. I previously really loved the Korres mineral foundation and it is what I wore when I eloped, but they have limited colors and it seems I am not as pale (read translucent) as I formerly was and thus there’s not a shade that fits my new skintone (off-translucent). My main criteria for foundation is that it doesn’t dry out my already dry skin, that it covers my hyper-pigmentation on my cheeks, has an SPF of atleast 20 and makes it look like I just have clean, fresh skin and no make-up.  I suppose you can sum it up as a ‘freshly scrubbed’ visage.  I used to love the Cargo OneBase concealer + foundation but it was discontinued from Sephora where I usually have a gift certificate from friends and family that know about my severe beauty addiction, so I never shop at any other beauty store. I did find it at Ulta the other day and against my better budget judgment I bought it.  My rationale was that a little goes a long way, my last one lasted me almost the entire year so if I amortized it, it would basically be pennies on the dollar. I had some Laura Mercier tinted foundation (another product that a little goes a long way), which I like to use when I am just running around doing errands, but it’s very sheer and doesn’t disguise the blotches of hyper-pigmentation on my cheeks, when I put the two together it became my new winning combination. How do I gauge this complexion perfection?  My husband looked at me the other day and said, “This is how I like you best no make-up”.  I just smiled, who am I to crush his delusional mind?

P.S. If you haven’t already don’t forget about the Stationery Stamp giveaway, lot’s of winners to be had!

NEW STATIONERY STAMP DESIGNS + A GIVEAWAY!

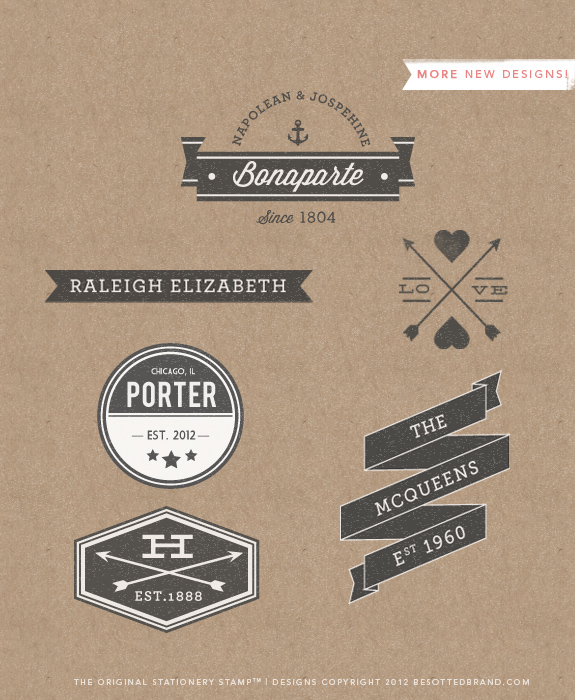
Well, welcome back & a happy Monday to you!  This weekend went by way too fast. I was as busy as one can be living in the middle of nowhere.  I was chatting with my friend Whit the other day on the phone when she asked ‘what are you doing about friends?’ and all I could think of was a big ‘uhm’ nothing.  Note to self–Get some friends, but first on my impossibly long list of things to-do is another big giveaway.  I do have one more design to photograph from the last giveaway and yes, there is one design above that was featured in the last round, but I lost the file (gone into the ether) so I need to start from scratch.  So here’s the quickie run down–these are new designs that I need to turn into live stamp samples before I put in the shop. You will leave your name, the dates, the stamp you like and your favorite word (why not?).  If I choose you I will need to photograph your stamp, but after that it is all yours and of course this is international so I hope everyone will play along.  I will keep the contest open for one week (ending 7.23.12). Once I have all the stamps made + photographed I will be showing off your prize on the blog, that’s it!  Feel free to Pin this, email, Tweet, etc. I am not asking you to but it sure would be nice, sharing is caring, right? Good luck!

P.S. Tomorrow I am going to reveal my new complexion perfection formula!

PRODUCT PHOTOGRAPHY::AVOIDING COLOR CASTS


And because I love you but haven’t had a chance yet to put together a proper tutorial I will try to add a product photography tip to for those that have been as frustrated as myself in your product photography journey.

To avoid odd color casts (green, yellows, blues, magenta, etc.) on your white backgrounds when shooting in natural light make sure you are not near anything that will throw a color tone on your background. What am I talking about? I am talking about things like grass or trees from outside, brightly painted walls and even the clothing you are wearing (I try to wear a white t-shirt when shooting).  At my old studio /dining room I

And because I get asked this about 200 times a day (I send out a lot of emails, no wonder I haven’t taken over the world yet, hmmm) and it has only taken me four years to add this (and I promise I will add it as an easy reference link in the near future), this is what I shoot with:

For my product shots I mostly use my 50mm 1.4 lens, it’s not the best lens for product photography (but not the worse either).  I have been saving up my pennies for the 100mm macro.  I have rented that lens from here and it not only shoots beautiful product shots but is an excellent portrait lens too. If you only have the 18-55mm kit lens (usually comes with your camera), don’t fret that lens actually has nice up close capabilities but you will want to make sure your set-up is well lit as the aperture doesn’t open very wide. If you want to upgrade to a good prime lens the nifty 50/50mm 1.8 is usually around $100 and is such a great deal. I do use a tripod, as much as I feel it’s a hassle, I find it a necessary evil. I have mentioned the Lowell Ego lights for years, I haven’t tried any other lights but I promise that no one can ever tell the difference in my photographs from the ones that I’ve taken in natural light versus the ones I have shot in a darkened room with the Lowell ego lights. I have found the least expensive place to buy them is on Amazon and that’s true for all the products above, it’s a competitive marketplace so you will find multiple prices for the same product and have the added security that if you are unhappy with a purchase they will take good care of you. Sheesh, I sound like a commercial.  I do want to try the large continuous lights but they aren’t in my budget.  I went to a workshop hosted by sweet Dani, the woman that hosted it had an Etsy shop for vintage clothing she had the continuous lights and a permanent mini photo studio set-up at all times; her shots + set-up made me coo coo with envy.