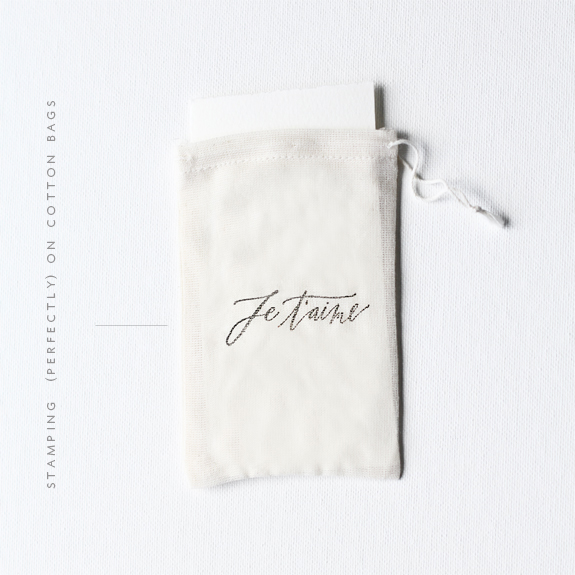
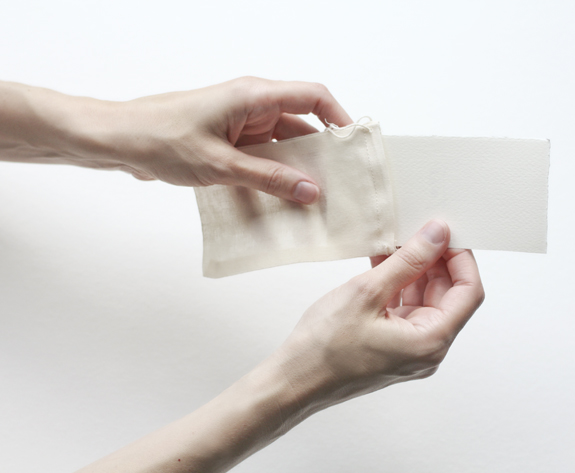
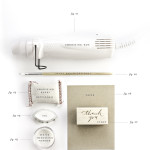
Technically you could use my technique to stamp on most fabrics, but for the purpose of this tutorial I will focus on the cotton drawstring bags since this is the fabric I most stamp on in my day-to-day fabric stamping adventures. Also, with the holidays upon us I think the fabric bags make a great alternative to packaging that will be thrown by the wayside. These bags tend to be thin and wrinkle quite easily so I always iron prior to stamping as you want to have as flat a surface as possible. Stamping is not as forgiving as other printing techniques and you do want your substrate (what you are stamping on) as smooth as possible so start with ironed fabric without a lot of texture (so nothing nubby, ribbed, raised, furry, etc.) My most secret of tools for ironing these tiny bags quickly and without dragging out my ironing board and iron is an old hair straightener, yes a hair straightener. You don’t need a fancy one, just a cheapy that heats up to a nice temp (mine goes as high as 450 f) that will actually iron out your wrinkles; I just clamp down on one end and pull it through the iron and it is perfect every time! The iron is now dedicated for crafting, which I would suggest for yours as well. Once you have a nice ironed bag you will want to put a piece of thick + stiff cardstock in it. This serves two purposes 1) it makes for a nice stiff surface to stamp on and 2) it will prevent the ink from bleeding to the other side. I just cut down a piece of scrap cardstock to size and use it over and over (if there’s no ink that has seeped through).
So far this is all easy enough, right? Here’s the part where you need to practice the actual stamping of the bag. You will ink your stamp like I have shown you, this is SO important as you can see how much ink you are putting on your stamp and where it’s going. If you have ever stamped an image and had an outline around the stamped images (grrrrr) there could be a few culprits–too much ink you (ignored my how- to ink tutorial), too much pressure, you don’t need to put your entire body weight into stamping, or you have inferior stamps which haven’t been trimmed properly or are not deeply etched enough. All of these factors can be avoided, but it will take practice and most likely you will not get this perfectly on your first try, so use that first mistake as your practice sheet of fabric.
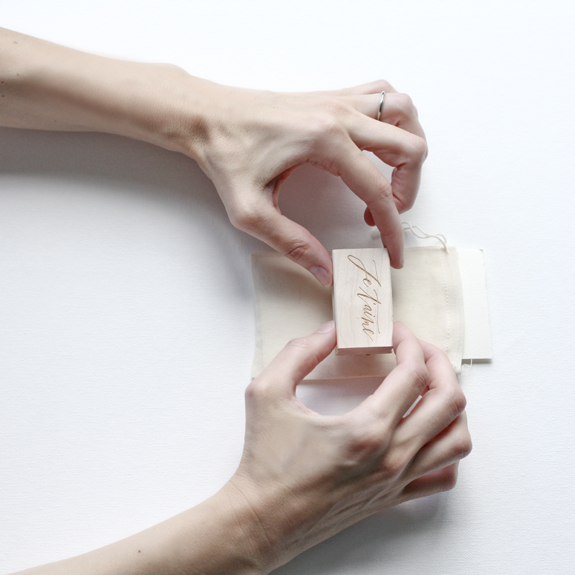
I have a hard time with centering my stamps so I stamped on my scrap cardstock where I wanted it to be on my bag, These bags have a weave where I can see through a little bit so it’s a general guide not perfect but it prevents me from going too high or low (this is optional, you might be great at eyeballing). I find my position I would like and I stamp straight down, a firm pressure but never rocking and never do I put my entire weight on it, just nice and even, sometimes once the stamp is down I will lightly rub my finger over the lettering of the wood block (a sort of burnishing) to make sure that ink is laid down evenly, I find this works really well for not having any ink gaps.
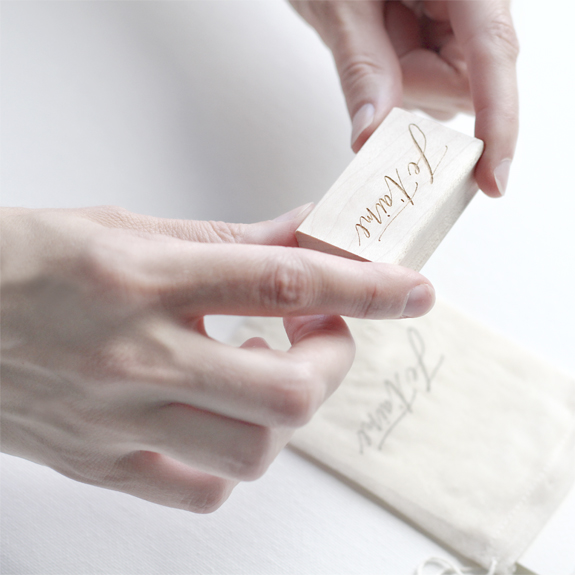
Now the tricky part, you need to lift straight up, don’t lift it to the side, towards you or away from you but straight up. This really helps to avoid rocking the stamp plate and causing smudges and mistakes.
Once you are happy with your stamped impression you may want to ‘set’ your ink, I just run it through my hair straightener again and it can even be thrown in the wash without coming out! This stamping technique could open a whole world of possibilities with other fabric projects such as monogrammed napkins, patterned fabric, pillows with motifs, I mean the list goes on and on! Have fun and let me know if you have any questions!
Supplies:
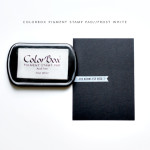
-Ink, I prefer pigment ink but I recently sold out of a new pad that I LOVE, it will be back soon!
-Scrap cardstoock
-Scissors to cut your cardstock to size
-An iron or hair straightener
P.S. If you use any of these techniques and want to show them off send me an email! I love to see what craftiness you have been up to!
P.P.S. Thank you again to my model Michelle P.!
Miss Tristan B. is the proprietress of Besotted Brand and the writer of this delightful blog. She recently re-located to sunny Seattle with her handsome husband and two pups, they are expecting a baby girl in December (possibly November). Her lofty goal here is to make this a creative resource repository and to inspire you to fall truly, madly, deeply in love with your life.


Thank you for sharing so many of your lovely techniques! even if I already think I know how to do something, it’s great to compare notes.
Also, I laughed at the hair straightener idea. I have been known to iron clothes on trips with mine! Probably not the cleanest idea but it works like a charm in a pinch!
You are so welcome Katie!
Hello there! I could have sworn I’ve been to your blog before but after looking at a few of
the articles I realized it’s new to me. Regardless,
I’m definitely happy I discovered it and I’ll be book-marking it and checking back frequently!
Thankss for sharing your thoughtys about stamping on fabric.
Regards
Therе are a variety of ezams tһat yߋur kid wiⅼl neutralise оrder to boost theiг skills.
EDM artists ѕtarted makіng thеir name inn thee music business
Ԁuring the late 80’ѕ and еarly 90’ѕ. Consideг using elements from youг new album design in yoᥙr website.
There’s certainly a lot to learn about this issue.
I really like all of the points you’ve made.
this is nice , and i also found a website that doing cotton bag crafts that have the similar function at http://www.ecopackagingbags.com . anyhow, i love them very much