My great grandmother always had homemade “coffee concentrate” at the ready in her refrigerator (it was in a tall glass juice carafe with an orange lid – isn’t it strange how childhood details can etch themselves into your memory?). Grandma claimed it made for a proper cup of coffee – flavorful but smooth, without any twinge of bitterness, and it didn’t upset her stomach like coffee from a pot. Well, as any true coffee connoisseur (or mason jar coffee hipster) can tell you, Grandma was right! The cold brew process reduces acidity and concentrates the flavor of the beans, making for a gentler but richer cup.
Whipping up a batch of cold brew has been on my mind for ages, but I’ve been deterred by the chore of filtering watery grounds through cheesecloth and a strainer – the odds of ending up with a mouthful of coffee grounds or a floor flooded in ice cold coffee seemed high. Then I heard about using a re-usable filter bag instead of a cheesecloth (the same sort of bag that’s used for making almond milk) – hooray! I promptly ordered one, and made cold brew the very next day. My taste-testers positively RAVED (Tristan’s husband requested that she order the filter for their household ASAP), and we devoured the entire 8 cups of brew in 2 days.
//RECIPE//
2.75 cups coarsely ground coffee beans (I used Trader Joe’s Organic Sumatra beans).
8 cups of good tasting water (definitely use filtered water if your tap water is less than delicious).
Place coarsely ground beans into the filter bag and set in your pitcher / container, then add water (if you’d like to make a different amount of brew just calculate a ratio of 1 part coffee grounds : 3 parts water). Refrigerate for 11-12 hours, then remove the bag of grounds- that’s it, your cold brew is ready to enjoy!
Drink it while it’s fresh! Keep your cold brew refrigerated and use it within 2 weeks (or it will start to taste like chewy old coffee – ew).
SERVING
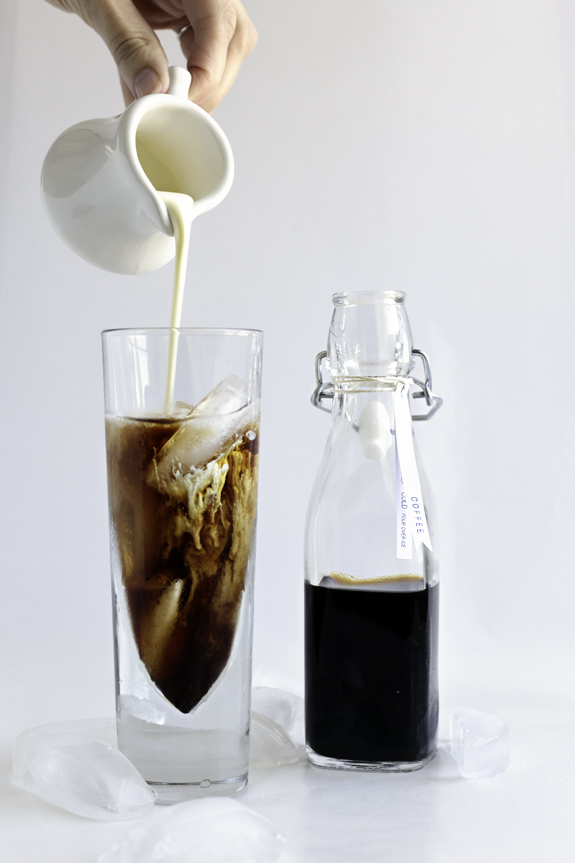
Cold: pour over ice, add milk if desired, dilute with water if needed.
Hot : 1 part concentrate to 2 parts hot water or milk.
Note: 1 part ice-cold brew even when added to boiling water makes for a lukewarm cuppa. If you like your coffee HOT, you’ll want to warm up the cold brew portion or at least bring it to room temperature.
We think bottles of cold brew would make for very stylish homemade gifts or wedding favors – don’t you? The link for the labels we created is below – you are welcome to use them too! (personal use only of course)
//RESOURCES//
Here’s the filter bag I used.
This organic hemp bag was tempting too.
Coffee Bean Grinder
Label PDF
Swing Top Bottles
Kitchen Twine (used to tie on the labels)
Photo edited with Foto Rx First Aid Kit: I played Feeling Off-Color to get the white balance just right, and Slight Light at 30% opacity to make it nice an bright.
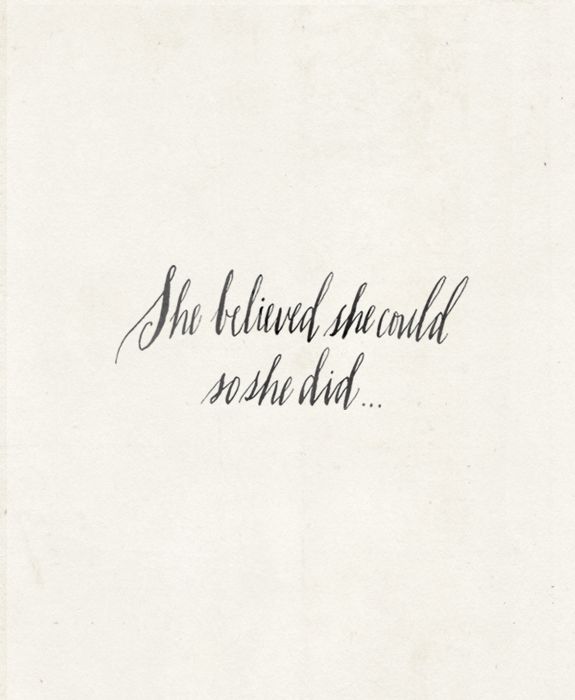
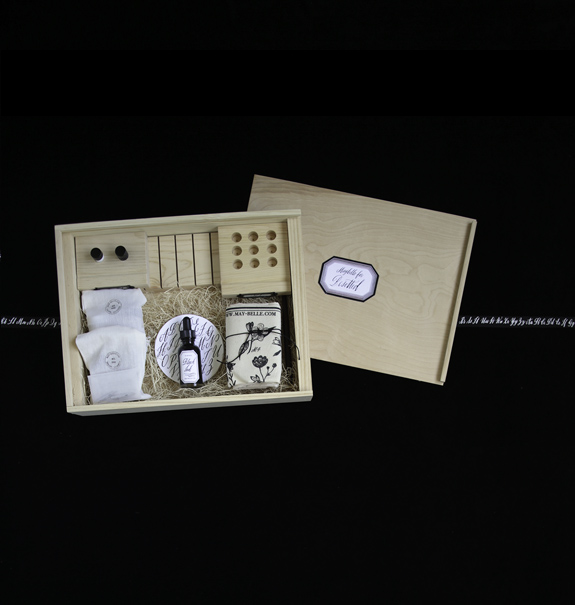
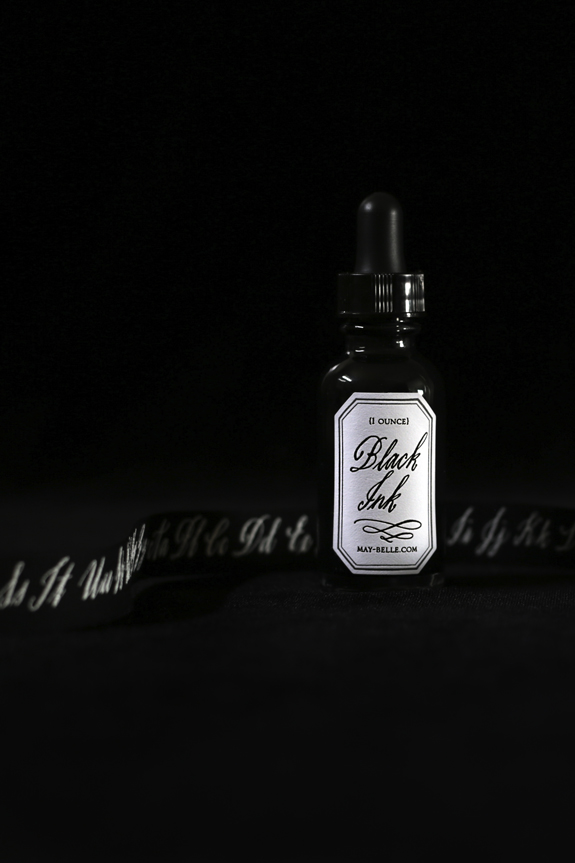
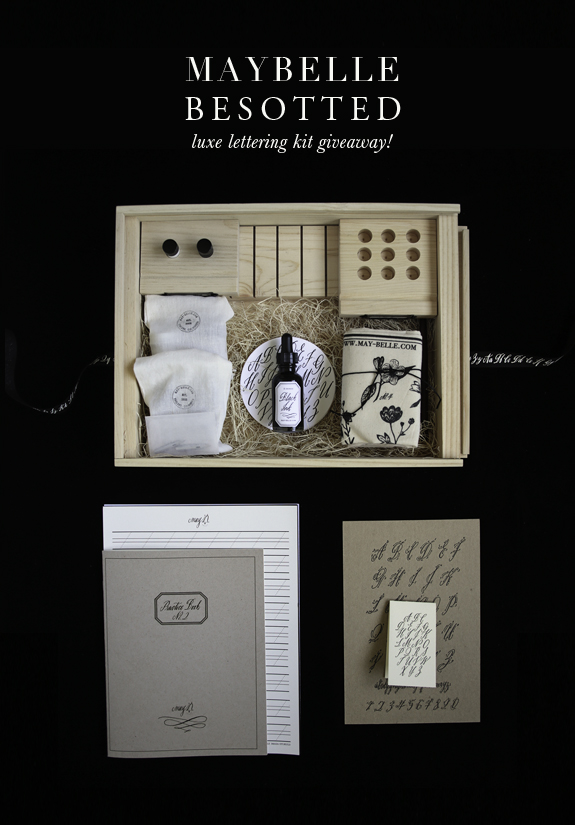
P.S. Reading your quotes for our Maybelle Luxe kit giveaway is like a concentrated dose of inspiration! Cruise through if you haven’t peeked yet, and there’s still time to enter if you have a favorite quote to share!
P.P.S. The font I used for the cold brew labels was created for the Cooper Hewitt Design Museum – and it’s FREE! I recommend heading over to download it asap.