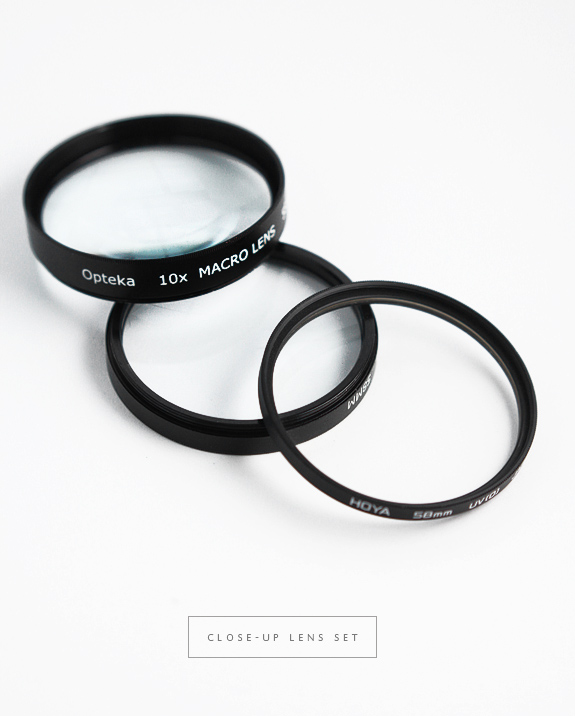
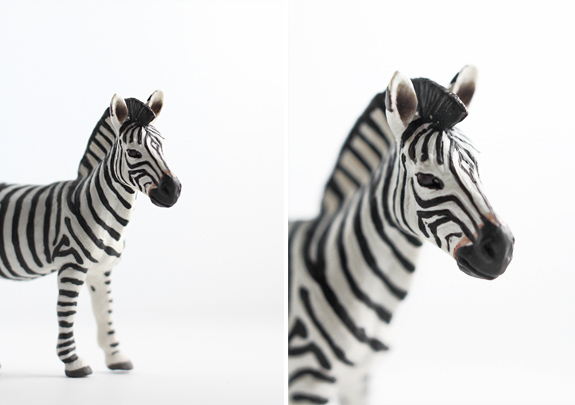
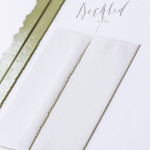
 I wanted to make-up for those of you that were not able to get into the Product Photography class on Skillshare. So, I decided to share this ‘tool of the trade’ that I use for my product photography from time to time. I first learned about it via a Scott Kelby book (if you aren’t familiar with him and are a photography newbie, I highly recommend his series). I was also pleased to know that Jen Huang recommended it as well. The tool today is a close-up lens set it’s a great alternative to an expensive macro lens. My set was under $15. What it allows you to do is get in much closer than you would normally be able to with your lens. I almost always shoot with a 50mm lens so I made sure to buy a set that would fit on my lens. It came with 4 lens attachments a +1, +2, +4, +10. What I usually do is stack the +1 and +2 (there are grooves to allow them to attach to eachother). For me that is the best combo to still create a sharp image. The +10 works but I feel creates a very narrow amount of detail and a lot of soft shallow depth of field, which might work well for creative shooting but not so well for product photography. I took some sample shots below for comparison. The first one on the left is shot with my 50mm lens without the addition of the close-up lenses (this is how close I could get in). The one on the right is with the close-up lens +1 and +2 close-up attached. You can really see how much closer I was able to get in and shoot, it’s pretty amazing! On a side note, I have seen the Hoya close-ups get great reviews, I have not tried them but it’s another option if you can’t find one that will fit on your specific lens.
Miss Tristan B. is the proprietress of Besotted Brand and the writer of this delightful blog. She recently re-located to the country with her handsome husband and two pups and will be re-locating back to the city in the very near future.


this is so so perfect! I am hoping to save up enough to purchase my first spendy DSLR camera and I am trying to find a perfect match for me that can push me a bit further without making me cry over the expense. I like the idea of stacking lenses as your photos are all exquisite, but I love certainly love he attention to detail you are able to get with here! amazing! thanks so so much! xo
I do so love you ‘tools of the trade’ series! I’m navigating my way around the ‘manual’ mode on my camera and have heard about these stacking lenses but haven’t seen the results…really, what could you lose by such an inexpensive purchase. Thank you too for the link, fingers crossed they ship to Australia! x
Rebecca, I would buy the DSLR without the lens it comes with JUST the body and then buy the nifty 50 which usually about $99. It’s the best lens for the price and will immediately make you photos look more ‘pro’. It would be so much less expensive. I paid so much more (nearly $300) to get the kit lens with my DSLR body and I NEVER use it, ever. I still grimace when I think about it!
Ingrid I am sure there’s an Amazon Australia that can ship, no? I like Amazon because I know I have a big company behind if I want to return. Manual mode will change your life, I am SUCH a control freak that I can’t imagine ever going back to the auto modes. I started very slowly though, I will write about it soon how I got myself off the auto modes:).
Tristan, I cannot tell you how unbelievably helpful this series is – thank you so very much, I love this idea and will be purchasing one of these kits immediately. I can’t remember how or when I first discovered Besotted and your blog here, but there have been so many times when I was so thankful I have for the knowledge and inspiration you’ve imparted, and this is one of those times!
Also – I saw what you responded to Rebecca and I too spent extra money on the kit lens only to buy a 50mm immediately and have only ever used the kit lens ONCE when I needed a zoom for an air show. It definitely hurts.
Thank you Diane! That warms my heart to hear, I hope I can keep it up;) I SO wish that someone would have mentioned the nifty 50 over the kit lens, I hope that suggestion helps others too, thanks for seconding that!
I have used these close-up lens before the digital cameras era and I loved them! This was the best and cheapest photography purchase I’ve ever made. I used them with standard 50 mm lens and hardly ever used 150mm lens (before I lost them in river during canoeing ;).
However, you should keep in mind that these lens “absorb” quite much light (if you use 1 or 2 it shouldn’t be the case, but when you use 5 and more it will definitely be).
Hanna, I did notice vignetting with the 10+ but also I was thinking it wasn’t the right subject for it, I do want to find a good subject to play with the 10+ though, I think it’s ripe for creative photo-ops!
Wow, how did I not know about this? Thanks so much for sharing the tip. Also love that it’s afoooooordable.
Oh wow…I might need to invest in these! Random sidenote…could you add your blog to Feedly? I’m not able to add it for some reason and I think that’s why? I could be wrong. ;) Thanks Tristan!
I discovered close up lenses (on my 35mm film camera). When I was doing animal shooting. I could get close in and get the most adorable shots of kittens. In suspect it would work well on babies as well.
Oh, I should try it with my pups, I never considered shooting animate objects with it, thanks for the tip Andrea!
Thank you Susan you are the second person that told me this and I am so bummed I don’t know how to fix. I added it to my feed manually as http://www.besottedblog.com and it worked, so I don’t know why it’s not automatically updating for those that are subscribed. BTW, SO much more visually pleasing than Google reader;)
Andrea above said it’s good for kittens so I am assuming it would be good for photographing Mateo’s little details like little chubby toes or those long lashes;)
Tristan, your post is most timely. I have been agonizing for a while whether to go for macro or wide angle lens. This could be a perfect solution. I have read some users complaining about the sharpness of images though. Have you had any issues with it?
Gintare, I am happy it helps! My set came with 4 lenses and I only use the 2, the +1 and +2, and I am able to keep the sharpness like the photos above, there is a +10 but it gets very soft around the edges, but I wouldn’t use that for something like shooting food, maybe for an insect, so I would say you are safe with this kit and at the very least it will hold you over until you want to invest in a macro lens!
Hi Tristan! Thank you so much for the informative piece – I have this kit, but was having trouble coming up with the right combination. I’m motivated to experiment! :)
Another question though – the lighting in your zebra and lens photos is so beautiful – would you share how you set up? I try to use natural light, diffused by an opaque shower curtain liner, but my results are truly hit or miss, and I only end up with a tiny window of opportunity before my photos tinge blue.
Thanks again for the post – just discovered your blog, very nice! :)
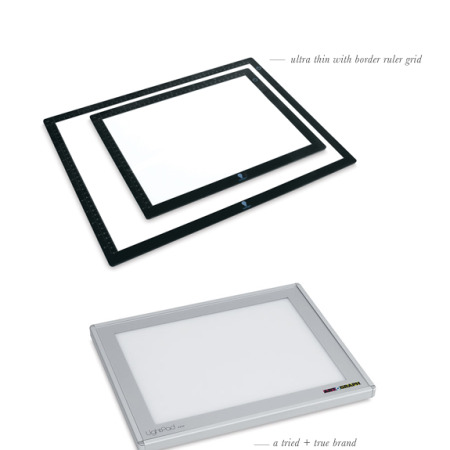
Suzanne I almost always use the Lowell Ego lights in a darkened room. I find shooting product in natural light gives you to many color discrepancies when putting next to other products that have been shot at different times. It’s a small investment but completely worth it. Here’s the link to my set-up:
http://besottedblog.com/product-blog-photographylow-light-no-light-no-problem